
Enhancing Your Oil Paintings with Gamblin Varnish
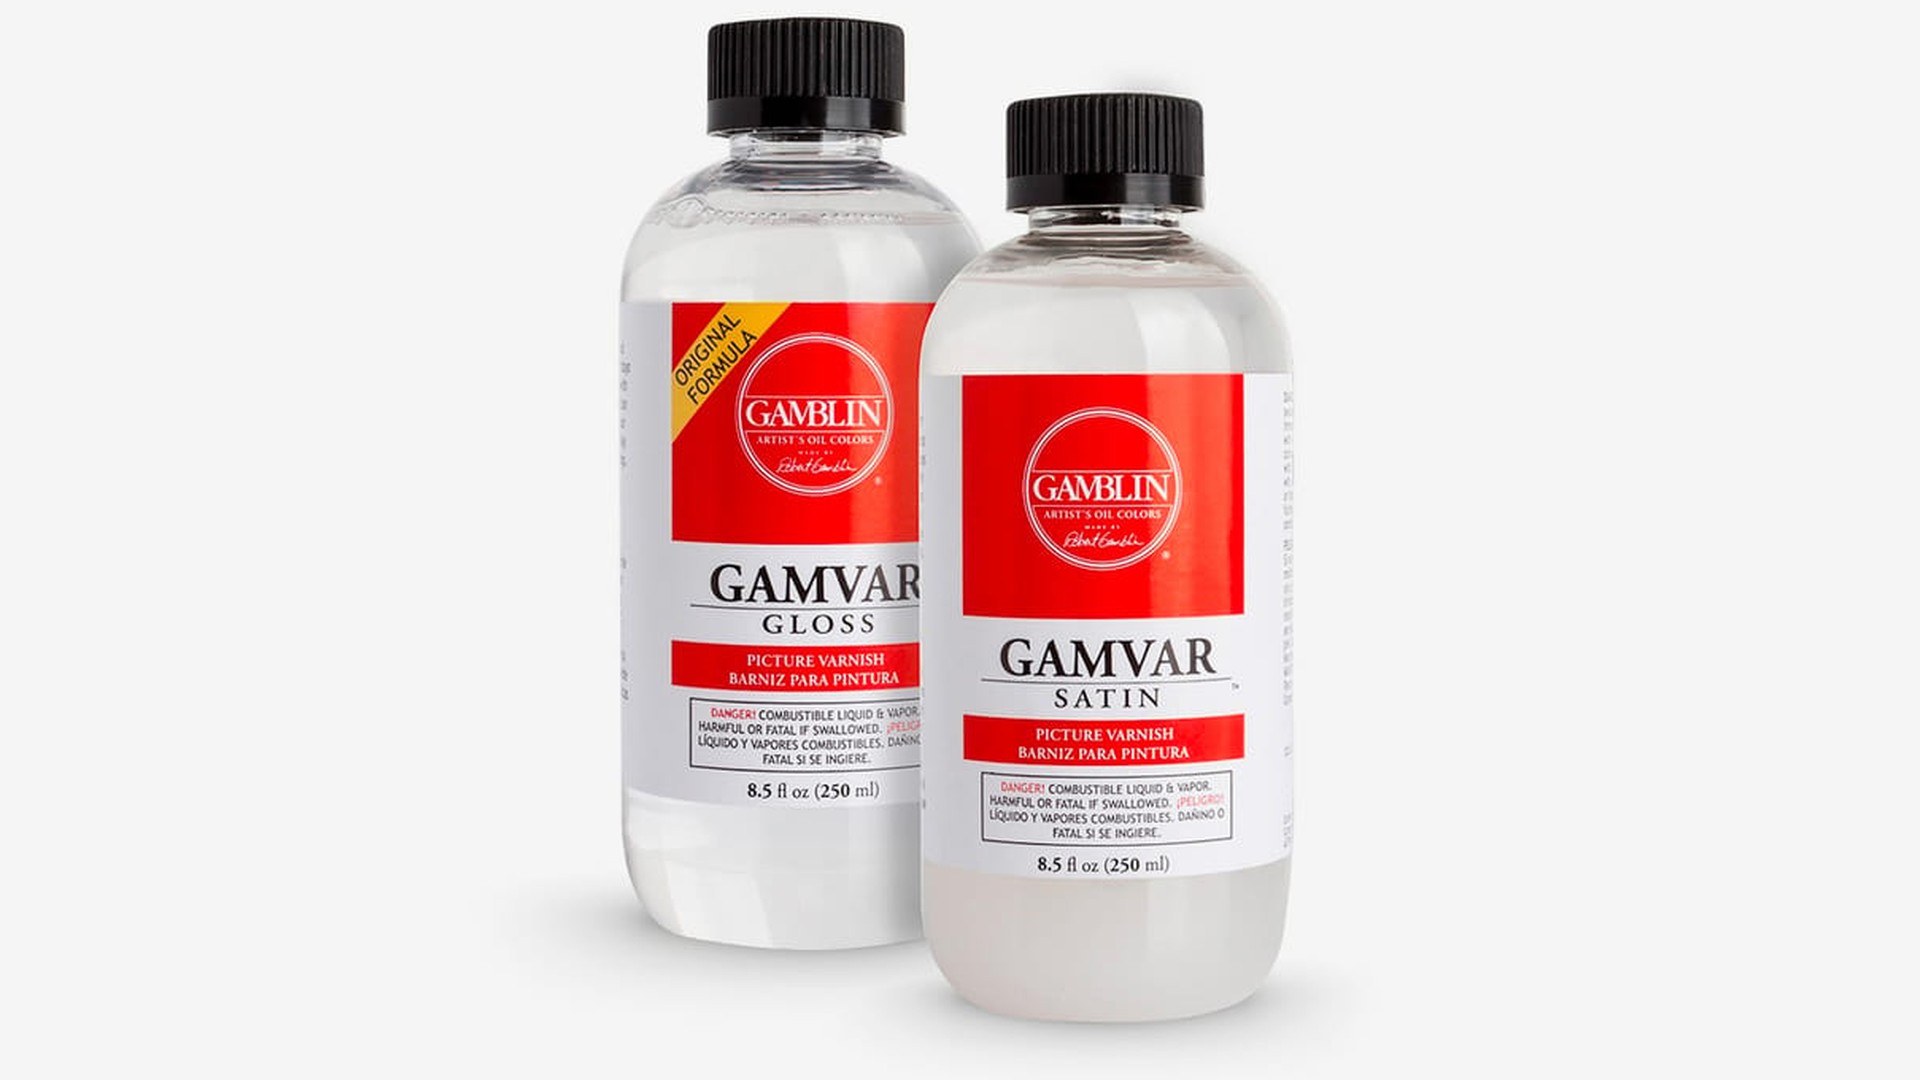
The Importance of Varnishing
The final step of an oil painting is never just “finishing”; it’s protecting. A good varnish doesn’t just guard the surface, it wakes the colours back up, making your artwork sing with depth and vibrancy for years to come.
I use Gamblin’s Gamvar, available in Gloss, Satin, and Matte. Each finish has its own personality: Gloss intensifies richness and colour depth, Satin gives a soft glow, and Matte offers a more subtle, diffused effect. My personal favourite is Satin for its gentle balance — but when I really want the painting to dazzle, I reach for Gloss..
Choosing the Right Varnish Finish
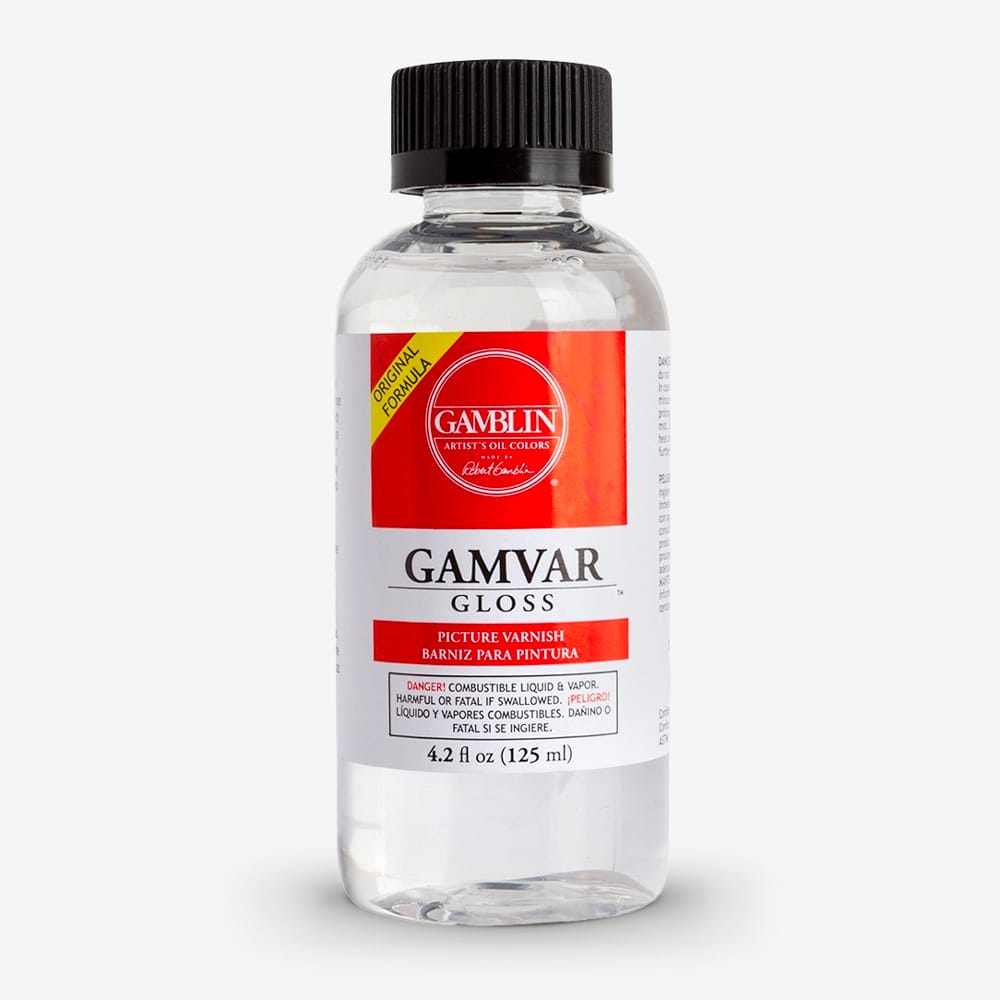
Gloss Finish
The Gloss finish is perfect for those who want their artwork to shine. It reflects light beautifully and enhances the vibrancy of colours. This finish is ideal for landscapes or any piece where you want to create a sense of depth.
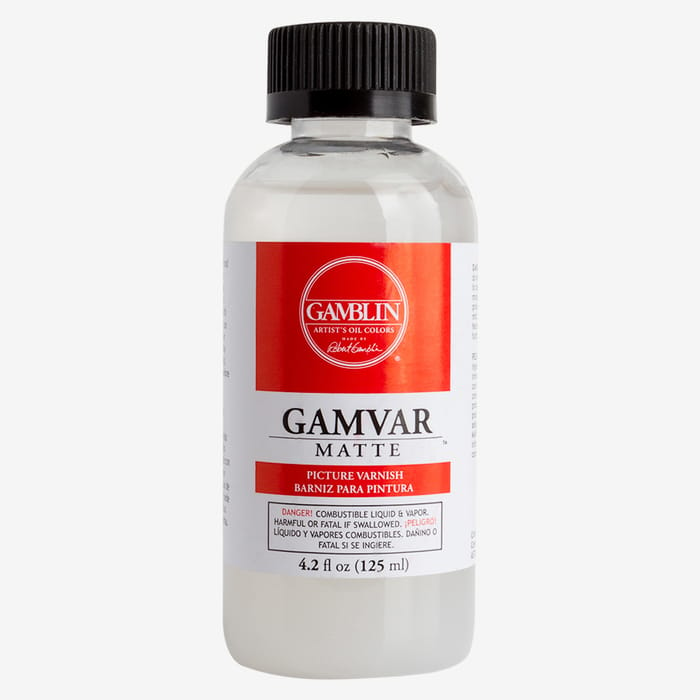
Matte Finish
On the other hand, the Matte finish offers a more subdued look. It reduces glare and is great for portraits or more intimate pieces. This finish allows the viewer to focus on the details without distraction.
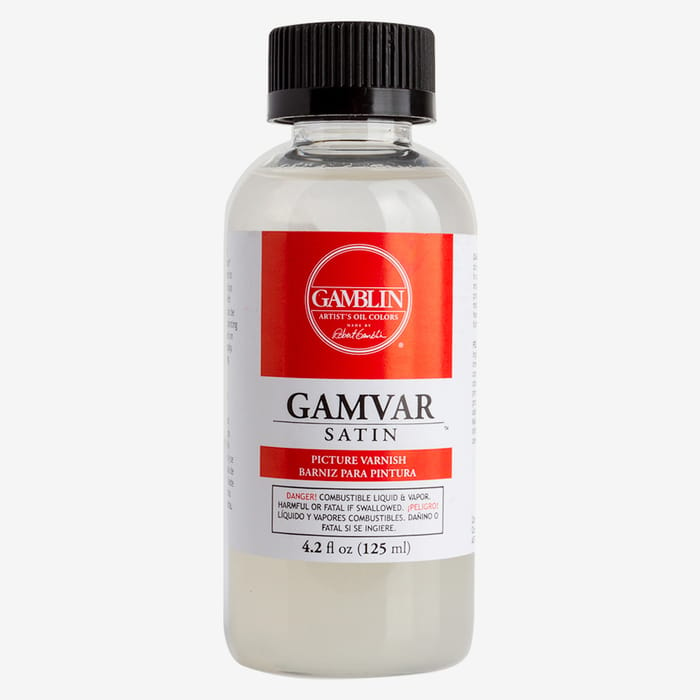
Satin Finish
The Satin finish strikes a balance between the two. It provides a soft sheen that adds a touch of elegance without overwhelming the artwork. This finish is versatile and works well for various styles.
The Right Tools for Varnishing
Varnish Brushes
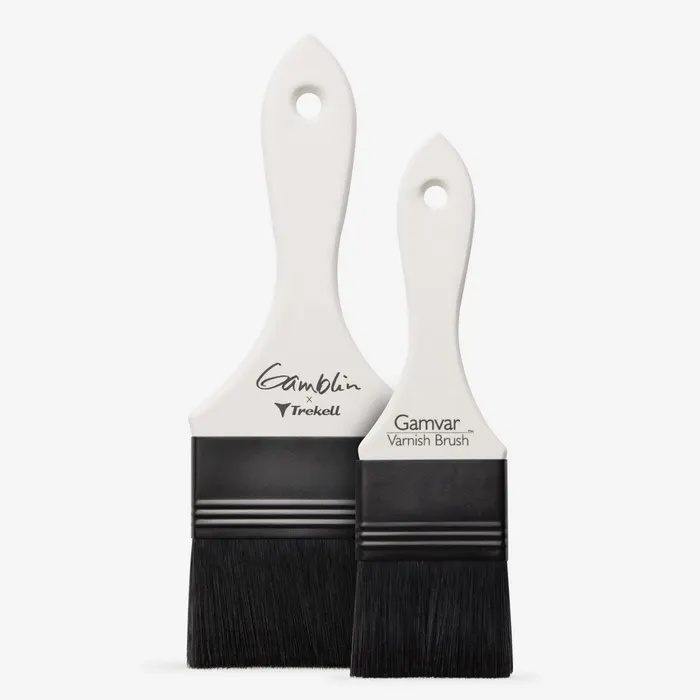
Gamblin’s varnish brushes come in large and medium sizes. They are designed specifically for smooth, even application of varnish without streaks or brush marks. For my work, I prefer the medium-sized brush. It offers excellent control and coverage, making it the perfect tool for achieving a flawless finish on pet portraits and detailed paintings alike.
Tips for a Successful Varnishing Process
Prepare Your Workspace
Before you begin varnishing, make sure your workspace is clean and well-lit. This will help you see any imperfections that need attention.
Test the Varnish
Always test the varnish on a small area or a separate canvas. This will give you an idea of how the finish will look and allow you to adjust your technique if necessary.
Apply Evenly
When applying the varnish, use long, even strokes. This will help prevent streaks and ensure a smooth finish.
Allow to Dry
After applying the varnish, allow it to dry completely. This can take several hours or even days, depending on the environment.
Conclusion
In conclusion, varnishing is a crucial step in the oil painting process. It enhances the colours and protects your artwork for years to come. Whether you choose Gloss, Matte, or Satin, make sure to use the right tools and techniques for the best results. By following these tips, you can achieve a beautiful finish that showcases your artistic vision.
Remember, the right varnish can make all the difference in how your artwork is perceived. So take your time, enjoy the process, and let your creativity shine!
Before You Varnish: Sunken Areas
If parts of your finished painting look dull or patchy, they've sunk. Bring them back by oiling out with your fat medium of choice, or use Gamblin 3-in-1 Medium at the final stage (usually 2 to 4 weeks after the painting is dry), then varnish.
Maz Says: Gamvar can go on once the painting is touch dry. Satin is my choice, but pick whichever finish you prefer.